
3D graphics guide for Android: OpenGL and related concepts
Published Jul 13, 2023
Share
Hello!
Some time ago I learned about demoscene in the BBS network in the early 90s. People have created amazing graphical images purely with Assembly code on a very limited hardware, and it was so great that even after all these years enthusiasts continue to create new demos and preserve old ones all over the world. I got inspired by the demoscene and decided to try something like this myself. I’m not familiar with Assembly (and, frankly, don’t want to touch it), so I chose to create some demos on Android using OpenGL. It might not be as impressive, but at least I can use programming language I am familiar with (Kotlin) to set up some scaffold code for the actual OpenGL graphic code. Unfortunately, the info around computer graphics and OpenGL is quite inconsistent and scattered across different places, so I decided to summarize my learning experience in one article for future reference, so other people could benefit from this too. It may seem scattered, but it’s how I understood stuff.
In this article, we’re going to walk through the main concepts behind computer graphics and OpenGL in context of Android and uncover the points for further reading. It’s intended for figuring out what’s it all about, but you may need some basic knowledge about computer graphics, math and Android to make the most out of it.
Basic graphics terms and concepts
This part is kinda optional if you already know how graphics works, I just wanted to summarize my knowledge and make sure I don’t miss anything. It is basic definition of the fundamental terms and concepts.
Computers have a hard time creating visual data. They see image as a pile of binary data and don’t by default understand how to put this chunk of bytes on the screen, so it’s necessary to transform whatever you want to draw into appropriate format consumable by computer, so it can take it and draw it on the screen.
It was decided that the best approach to represent visual data on screen is using pixel – a single unit of data, like atom in the molecule. Each pixel has position and color. So it’s left to figure out how exactly we can draw image on the screen using pixels.
There are 2 ways of doing it: raster and vector. Raster graphics means that the image is presented two-dimensional array of pixels (in the simplest case), and these pixels are merely structures that hold some info about the color of the point encoded in one of the many formats. For example, we can have 3 numbers from 0 to 255 that will represent hues of red, green and blue. This way, our pixel will be RGB-encoded. There are multiple possible ways to encode a color, but the RGB is the simplest.
If we need to draw some complex shapes on the screen, or produce some rapidly changing animated 3d object, raster drawing would be too hard. It will involve complex math to calculate shape’s pixels and place them on the screen. And vector graphics allows us to do exactly that but without much hassle. We need to define shape with some params that we need, and the computer will do the hard work and draw the shape exactly how we define and on the fly. Vector images can be scaled with no quality loss, so if you put vector icon on the small WearOS watch or on the billboard, it will look sharp, while raster image will likely be a mess when scaled too much up or down.
Graphics involves a lot of math, and despite computers are good at math, they struggle to draw stuff with CPU only. It was enough in the early 90s to have only CPU in the personal computer to draw images, but the CPUs were quickly pushed to the limits. And not because they were less powerful than now, but because they were single-threaded. So people created separate processing units for graphics (GPUs) that can calculate a lot of math in parallel. Modern GPUs contain thousands of cores with frequencies sometimes more than 1 GHz, so the can calculate billions of operations with ease. To utilize this power, graphics nowadays is drawn pixel by pixel in big chunks to fill up GPU resources.
OpenGL
OpenGL is a standard to describe how GPUs can draw graphics on the screen. It consists of the specification and the C-like framework aligned with this specification. It is maintained by Khronos Group and kept open source. I will shortly cover the internals of the OpenGL for the curious minds and introduce main concepts here.
In general, you don’t need to use any framework to draw stuff on screen. Developers can communicate with GPUs directly, and OS may have a driver for the particular GPU, so we can draw whatever we want. But you will need to write a shit ton of boilerplate code just to set things up and make the environment ready for drawing, and that will likely work only on your machine. Other GPU model may not support your code at all. It’s like manufacturing your own custom paper and pencil out of raw materials (wood, cotton, etc.) and with the provided tools, just to draw some doodles. It is suboptimal at least. But at the time of OpenGL creation, there was no other choice.
Luckily, people realized that and started to think about generic framework for graphics that will contain the complexity of setting up stuff for each platform and offer convenient tool set for drawing basic building blocks of the image, so it can be applied for any use case and be portable enough, so you won’t need to worry too much about compatibility with other GPUs.
OpenGL draws stuff pixel by pixel, and for each pixel we can provide a script with the logic necessary to draw this pixel. These scripts called shaders and should be written in the special language called GLSL. It is similar to C, but with some extra default stuff defined in the framework. Shaders can accept input data, which allows us to draw something that depends on a state, e.g. on the cursor movement or time.
There are 2 types of shaders in OpenGL: fragment shader and vertex shader. Fragment shader produces color data and similar visual stuff for the pixel, and it’s enough to use just them for 2D graphics. Vertex is a position in three-dimensional space, so vertex shaders are needed to draw 3D objects on the screen, because they can help to produce position of the vertex of the model in the 3D space and convert it to the 2D space. Since our screens are mostly flat, it’s necessary to have some way to project 3D objects on flat surface. It’s a relatively simple math that is done behind the scenes, so we don’t need to worry too much about it. You don’t need to understand it fully to be able to write shaders, but it may be helpful for the best results. Math can be intimidating for some people, but in this case you can easily visualise this math for better understanding before you actually get it. So don’t worry too much if it’s hard to grasp, take your time and practice writing shaders until it clicks.
You will need to write most of the code for the shader yourself, but there are a lot of helper functions in the standard library that are implicitly included in the shader for you to use. Most of them are math functions, so basic knowledge of matrices and vectors will be useful there to understand what’s it all about. But again, math is optional. Official docs are the main source of info about the standard functions, but you can refer to some guides online, such as this.
OpenGL on Android
Android was initially planned and developed as the OS for the digital cameras, so it was designed for the low spec devices with limited resources. For that reason Android uses special subset of OpenGL standard – OpenGL ES, or GLES. It has fewer features compared to the regular OpenGL, but it offers better performance and compatibility with mobile GPUs. You can use OpenGL ES APIs from Kotlin code via Android SDK bindings, or from C++ code via NDK. It’s OK to just support the latest version, since it works on most of the currently active devices. GLES is backward compatible, meaning that the hardware with newer version can run shaders written for older versions of the standard. So, if you need to maintain some older hardware or not sure if your device will be able to draw what you want, use GLES 2.0.
Official guide contains a lot of info on how to draw some stuff.
Android also has support for Vulkan, which is a successor of the OpenGL with better performance. But it’s more complex, and you are only able to work with it through C++ and NDK, so I would not cover it here. There is a good video with comparison of Vulkan and OpenGL.
AGSL
With the introduction of the Jetpack Compose, it became tedious to use GLES shaders on Android, because GLES requires SurfaceView to be around. You can have interop between regular XML views and Compose, but in case of the SurfaceView it can be tricky to make it work, and you might not be able to use Preview.
With Android 13, Google introduced their own Android Graphics Shading Language (AGSL) for real-time graphics. It is based on GLSL syntax, compiled on the spot and is well integrated with the Compose. However, there are some differences between GLSL and AGSL that are important to consider.
Next steps
To learn more about computer graphics, you can dig deeper into shaders. There are other frameworks that utilize shaders with similar syntax, such as DirectX on Windows, so if you would want to draw something on different platform or with more details, learning OpenGL shaders will still be useful.
There are some good tutorials for OpenGL, as well as good YouTube videos with step by step introduction, like this or this. Rebecca Franks aka @riggaroo also highlighted some learning resources in her blog post that are more specific for Android.
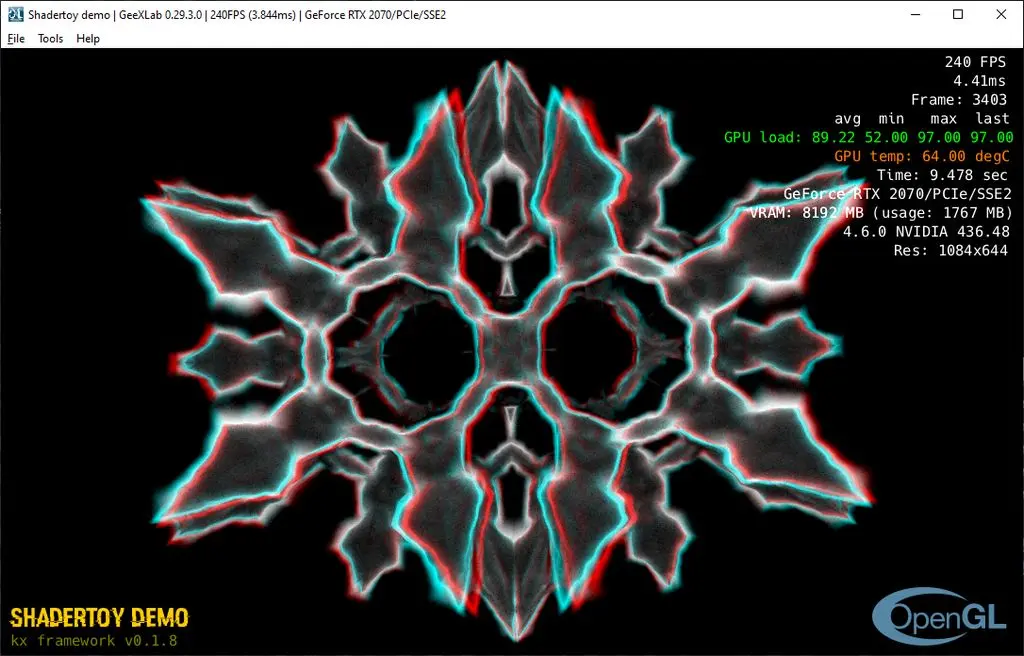
It’s notoriously hard to debug shaders, but there is shadertoy app that allows you to iterate on WebGL shaders quickly, and immediately see bugs. And when you’re done with shadertoy WebGL shaders, you can then adapt them for GLES environment.
If you have any questions, hit me up on Mastodon.
Good luck and have fun!